3D printing techniques have changed how manufacturers, hobbyists, and engineers create physical objects. From rapid prototyping to full-scale production, additive manufacturing offers solutions that traditional methods can’t match. Each 3D printing technique works differently, uses different materials, and produces different results. Understanding these differences helps creators choose the right method for their specific needs.
This guide covers the most popular 3D printing techniques available today. It explains how each process works, what materials they use, and where they excel. Whether someone wants to print functional parts, artistic models, or production-ready components, one of these methods will fit the job.
Table of Contents
ToggleKey Takeaways
- FDM is the most affordable and accessible 3D printing technique, ideal for prototyping, large objects, and functional parts.
- SLA and resin printing deliver the highest detail and smoothest surfaces, making them perfect for jewelry, miniatures, and precision work.
- SLS produces the strongest functional parts without support structures, rivaling injection-molded quality for end-use applications.
- Each 3D printing technique uses different materials—FDM works with thermoplastic filaments, SLA uses photosensitive resins, and SLS fuses nylon powders.
- Choose your 3D printing technique based on project priorities: detail (resin), strength (SLS), or cost-effectiveness (FDM).
- For production runs of 50–500 parts, SLS often beats injection molding on cost because it requires no tooling.
Fused Deposition Modeling (FDM)
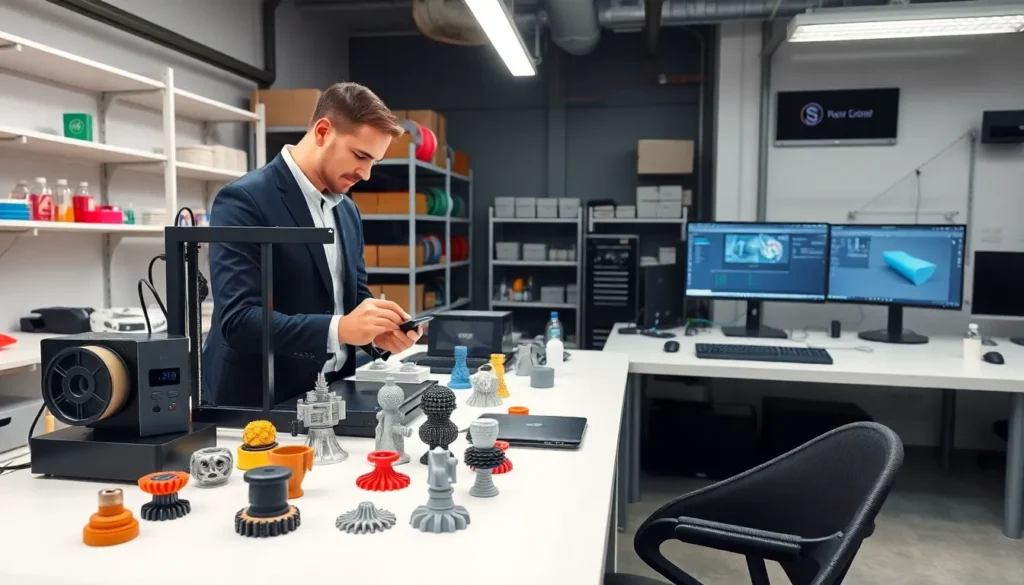
Fused Deposition Modeling (FDM) stands as the most common 3D printing technique for home users and small businesses. The process is straightforward: a printer heats thermoplastic filament and extrudes it through a nozzle, layer by layer, to build an object.
FDM printers work with several material types. PLA (polylactic acid) remains the most popular choice because it’s easy to print and environmentally friendly. ABS offers better heat resistance and durability. PETG combines the best qualities of both. More advanced users work with nylon, TPU (flexible filament), and carbon-fiber composites.
How FDM Creates Objects
The printer reads a digital file and slices it into horizontal layers. The print head moves along X and Y axes while depositing melted plastic. After completing one layer, the build plate drops slightly, and the next layer begins. This process repeats until the object is complete.
Layer height affects both print quality and speed. Thinner layers (0.1mm) produce smoother surfaces but take longer. Thicker layers (0.3mm) print faster but show more visible lines.
Best Uses for FDM
FDM excels at creating functional prototypes, replacement parts, and large objects. The 3D printing technique costs less than other methods, making it ideal for iterative design work. Makers use FDM for:
- Mechanical parts and housings
- Architectural models
- Educational projects
- Custom tools and jigs
- Cosplay props and accessories
The main limitation? Surface finish. FDM parts show layer lines that require post-processing to smooth out.
Stereolithography (SLA) and Resin Printing
Stereolithography (SLA) represents a different approach to 3D printing techniques. Instead of melting plastic, SLA uses light to cure liquid resin into solid objects. The results speak for themselves, SLA produces incredibly detailed parts with smooth surfaces.
The process works like this: a build platform dips into a vat of photosensitive resin. A UV laser or LED array traces the shape of each layer, hardening the resin where light hits. The platform lifts slightly, and the next layer cures onto the previous one.
Types of Resin Printers
Three main technologies fall under resin printing:
- SLA (Stereolithography): Uses a laser to trace each layer. Produces excellent detail but prints slowly.
- DLP (Digital Light Processing): Projects entire layers at once using a digital projector. Faster than SLA with similar quality.
- MSLA (Masked SLA): Uses an LCD screen to mask UV light. Offers a good balance of speed, detail, and affordability.
MSLA printers have become popular for hobbyists because they cost less than traditional SLA machines while delivering impressive results.
Materials and Applications
Resin comes in many formulations. Standard resins work for display models and prototypes. Engineering resins offer higher strength and heat resistance. Castable resins burn out cleanly for jewelry making. Flexible resins create rubber-like parts.
This 3D printing technique shines for:
- Jewelry and miniatures
- Dental models and aligners
- High-detail prototypes
- Small mechanical parts requiring precision
Resin printing requires more post-processing than FDM. Parts need washing in isopropyl alcohol and curing under UV light. The liquid resin also requires careful handling, it’s messy and potentially irritating to skin.
Selective Laser Sintering (SLS)
Selective Laser Sintering (SLS) uses a high-powered laser to fuse powdered materials into solid objects. This 3D printing technique produces strong, functional parts without the need for support structures.
Here’s how it works: a thin layer of powder (usually nylon) spreads across the build platform. A laser traces the cross-section of the part, sintering the powder particles together. The platform lowers, a new layer of powder spreads, and the process repeats. Unfused powder surrounds the part during printing, acting as natural support.
Advantages of SLS Printing
SLS offers several benefits over other 3D printing techniques:
- No support structures needed: The powder bed supports overhanging features
- Strong, functional parts: Sintered nylon rivals injection-molded strength
- Complex geometries: Internal channels and interlocking parts print easily
- Efficient material use: Unfused powder can be recycled
These advantages make SLS popular for end-use parts, not just prototypes.
Materials and Limitations
Nylon (PA 12 and PA 11) dominates SLS printing. Glass-filled nylons add stiffness. TPU powders create flexible parts. Some industrial machines sinter metals, but those systems cost significantly more.
The main barrier to SLS? Price. Industrial SLS machines cost hundreds of thousands of dollars. Even desktop SLS printers start around $10,000. The powder also requires careful storage and handling.
For production runs of 50-500 parts, SLS often beats injection molding on cost because it requires no tooling.
Choosing the Right Technique for Your Project
Selecting the right 3D printing technique depends on several factors. Each method has strengths that match specific project requirements.
Consider Your Priorities
Detail and surface finish: Resin printing wins here. SLA and MSLA produce the smoothest surfaces and finest details. Choose resin for miniatures, jewelry, or anything requiring crisp edges.
Strength and durability: SLS parts outperform other techniques for functional applications. If the part needs to withstand stress, heat, or repeated use, SLS nylon delivers.
Cost and accessibility: FDM remains the most affordable option. Printers cost less, materials cost less, and the learning curve is gentler. For prototyping and hobby projects, FDM makes sense.
Size: FDM handles large objects better than other techniques. Building a 30cm model? FDM. Building a 3cm figurine? Resin.
Quick Comparison
| Factor | FDM | SLA/Resin | SLS |
|---|---|---|---|
| Detail Level | Medium | High | Medium-High |
| Strength | Medium | Low-Medium | High |
| Cost | Low | Medium | High |
| Post-Processing | Minimal | Required | Minimal |
| Material Options | Many | Growing | Limited |
Matching Technique to Application
Engineers prototyping mechanical parts often start with FDM for speed and low cost, then move to SLS for functional testing. Jewelers almost exclusively use resin printing for master patterns. Product designers might use all three 3D printing techniques at different project stages.
The best technique is the one that meets project requirements without overspending on unnecessary capabilities.